This CSS tutorial will introduce you to the concept of Cascading Style Sheets, and how this styling language can make coding that much easier. Before beginning this tutorial, we recommend that you check out our HTML tutorial series. HTML and CSS work hand in hand, so understanding HTML is essential to getting the most out of CSS.
What is CSS?
CSS stands for Cascading Style Sheets. It’s a styling language that’s used to determine the visual presentation of a web page or document that’s been written in a markup language, such as HTML. CSS is used to define the layout and design of the HTML elements, and also determines the variations in display for a range of different screen sizes and devices.
Why use CSS?
CSS was created to solve a significant problem with HTML and to make life easier for developers. HTML was originally created to describe the content of a web page, not to format the content or apply styles to it. However, in later versions of HTML (specifically 3.2), new tags and attributes were added to define visual elements such as fonts and colours. This turned web development into a long, cumbersome and costly process, as coders were expected to add this visual information to every single page of a website. The World Wide Web Consortium (W3C) developed CSS as an answer to this issue, effectively removing the need for style formatting in HTML.
When working in CSS, you will typically save the style definitions in external .css style sheet files. This allows you to change the appearance of an entire website by simply editing one file. In other words, understanding CSS will save you a great deal of time and hassle as a developer.
CSS syntax
CSS code is made up of rule-sets. A CSS rule-set consists of two main parts: a selector and a declaration block.
Selector: The selector indicates the HTML element you want to style. CSS selectors are used to “find” or select HTML elements.
Declaration: The declaration block contains one or more declarations (separated by semicolons), and each of these declarations includes a CSS property name and a value (separated by a colon).
Property: The property is the part of the element’s appearance that you want to change; for example, the size, alignment, font, colour, and so on.
Value: The value describes what you want the property to look like; this is where you would specify that you want to change a colour to blue, or the text size to 12px, and so on.
Note that a CSS declaration must always end with a semicolon, and declaration blocks must be enclosed in curly brackets or braces: { and }.
CSS in action
To create a test CSS document, we first need to create a simple test HTML document. Before beginning, we do recommend that you go through our HTML tutorial and get to grips with the basics of Hyper Text Markup Language.
Open your text editor (like Notepad++) and add some simple HTML code to the document as follows:
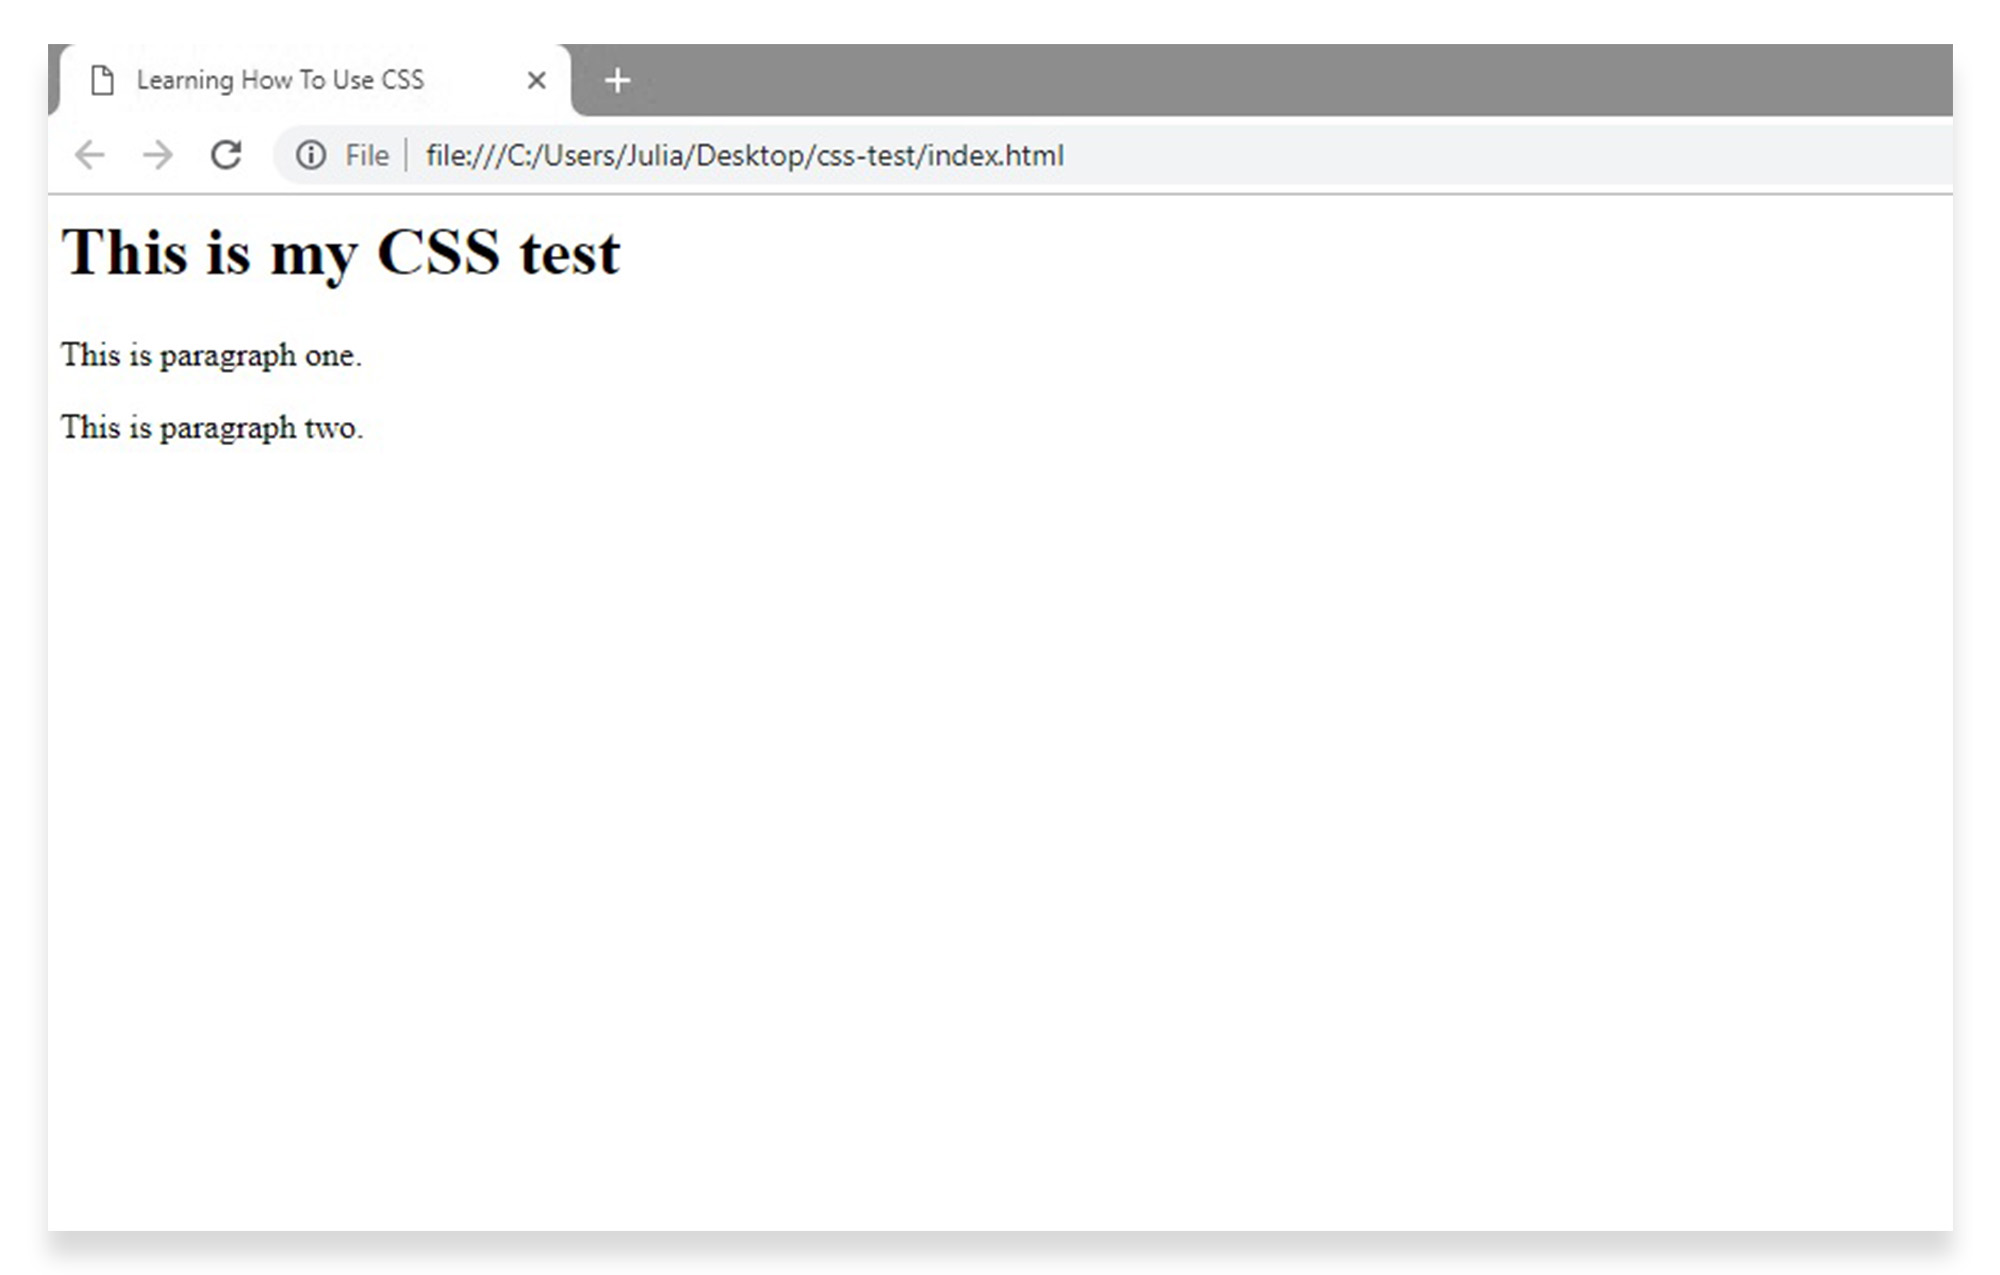
<!DOCTYPE html5>

<html>
<head>
<title>Learning How To Use CSS</title>
</head>
<body>

<h1>This is my CSS test</h1>

<p>This is paragraph one.</p>

<p>This is paragraph two.</p>

</body>
</html>
Create a new folder and name it “css-test”, then save your file in that folder, as “index.html”.
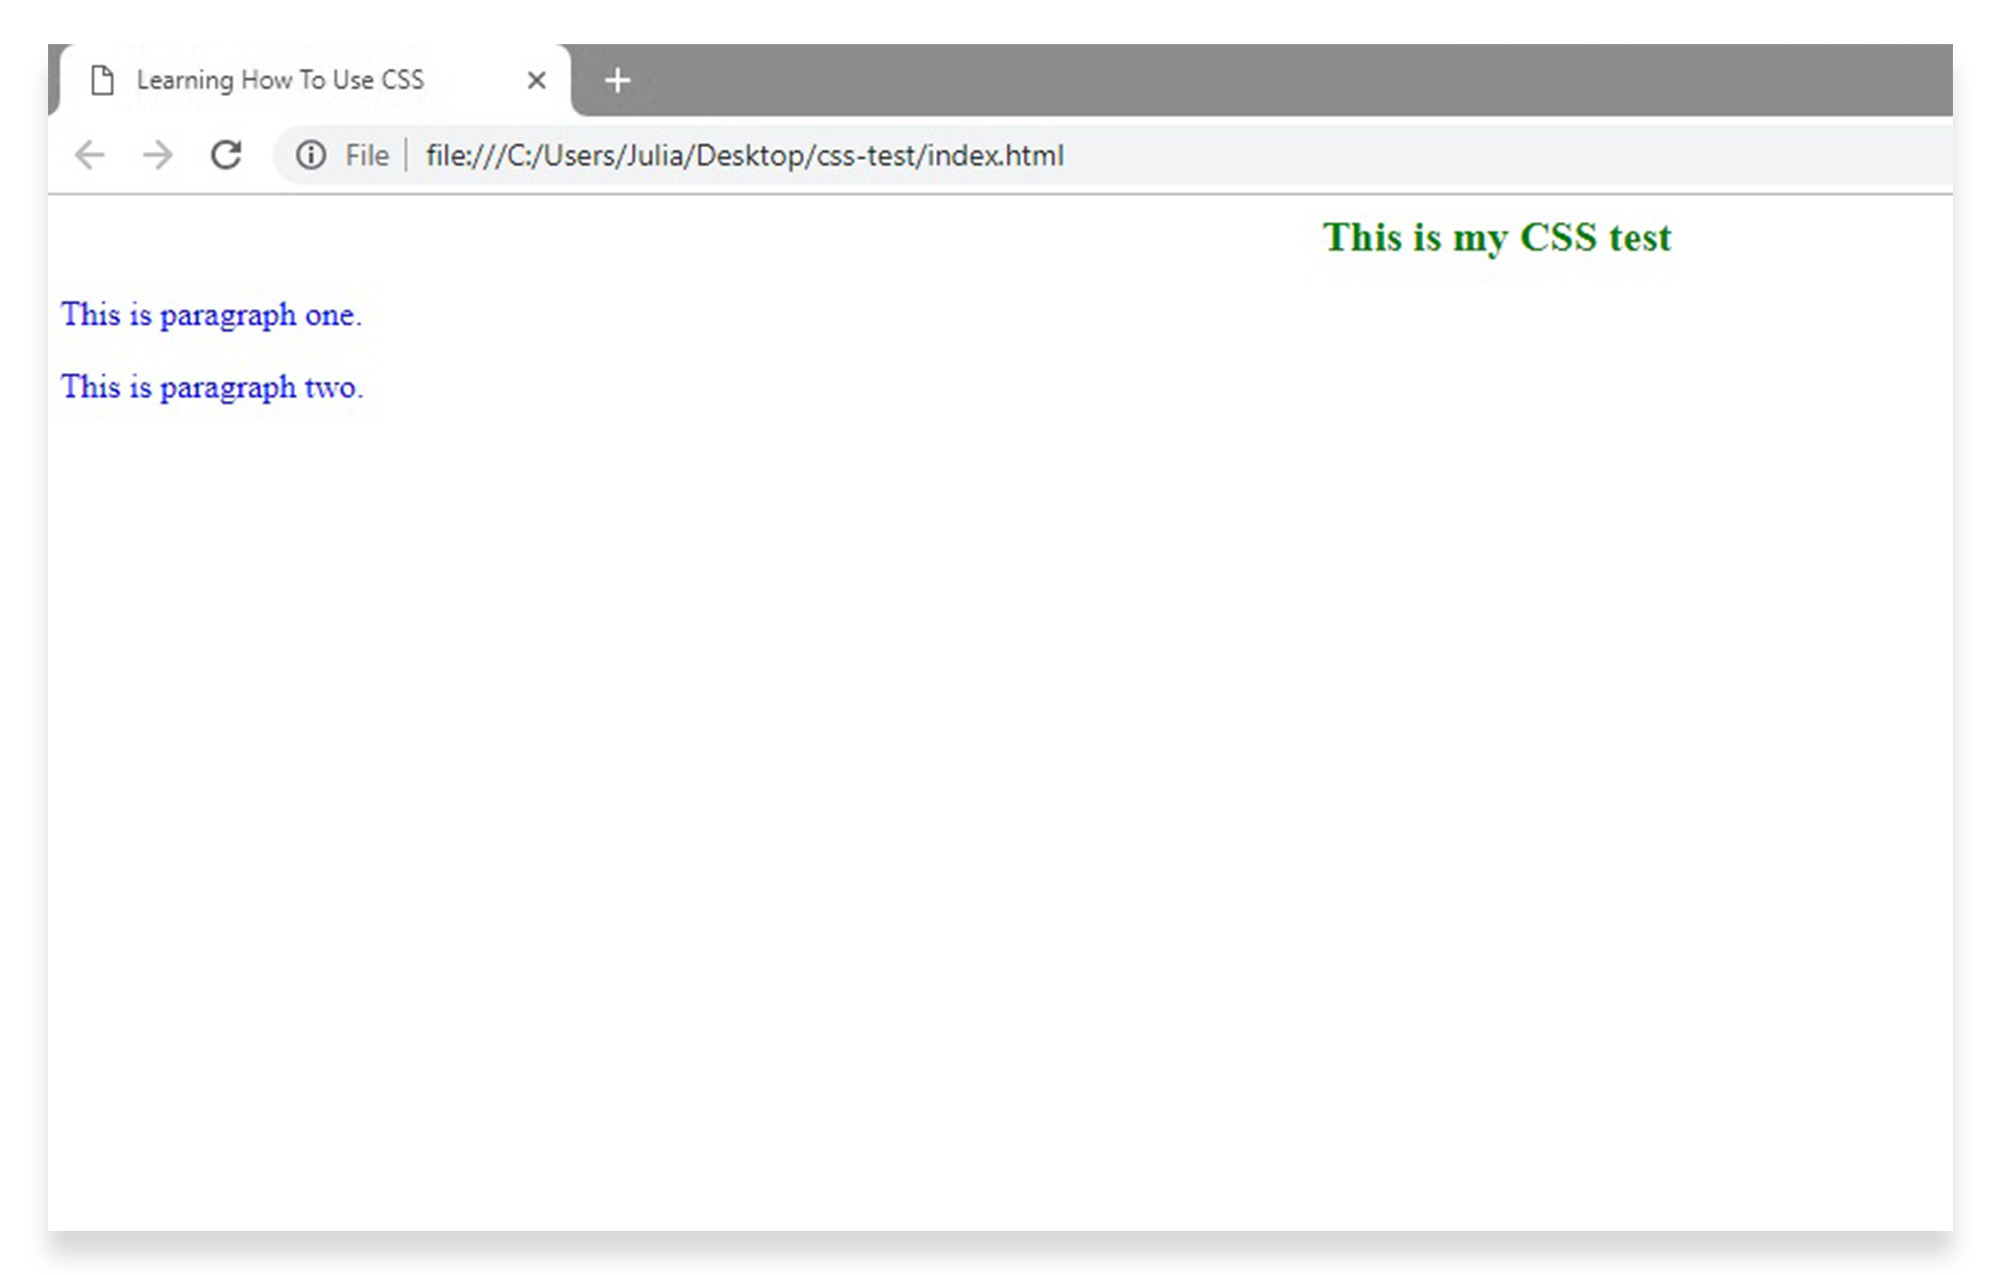
Open the HTML file in your browser, and it should appear as follows:
Now that we have our basic HTML file set up, let’s say we want to use CSS to change the appearance of the page heading. We want to change the colour to green, the font size to 20px, and the alignment to centred. Those are three properties that we want to add to the heading, each with its own value; so we will need three declarations in our declaration block.
In this case, the rule-set would be made up as follows:
- h1 is the selector – the HTML element that we want to style.
- The first declaration in the declaration block will be color:blue; with color being the property and blue being the value.
- The second declaration in the declaration block will be font-size:20px; with font-size being the property and 20px being the value.
- The third declaration in the declaration block will be text-align:center; with text-align being the property and center being the value.
Tip: Remember, properties and values are separated by a semi-colon.
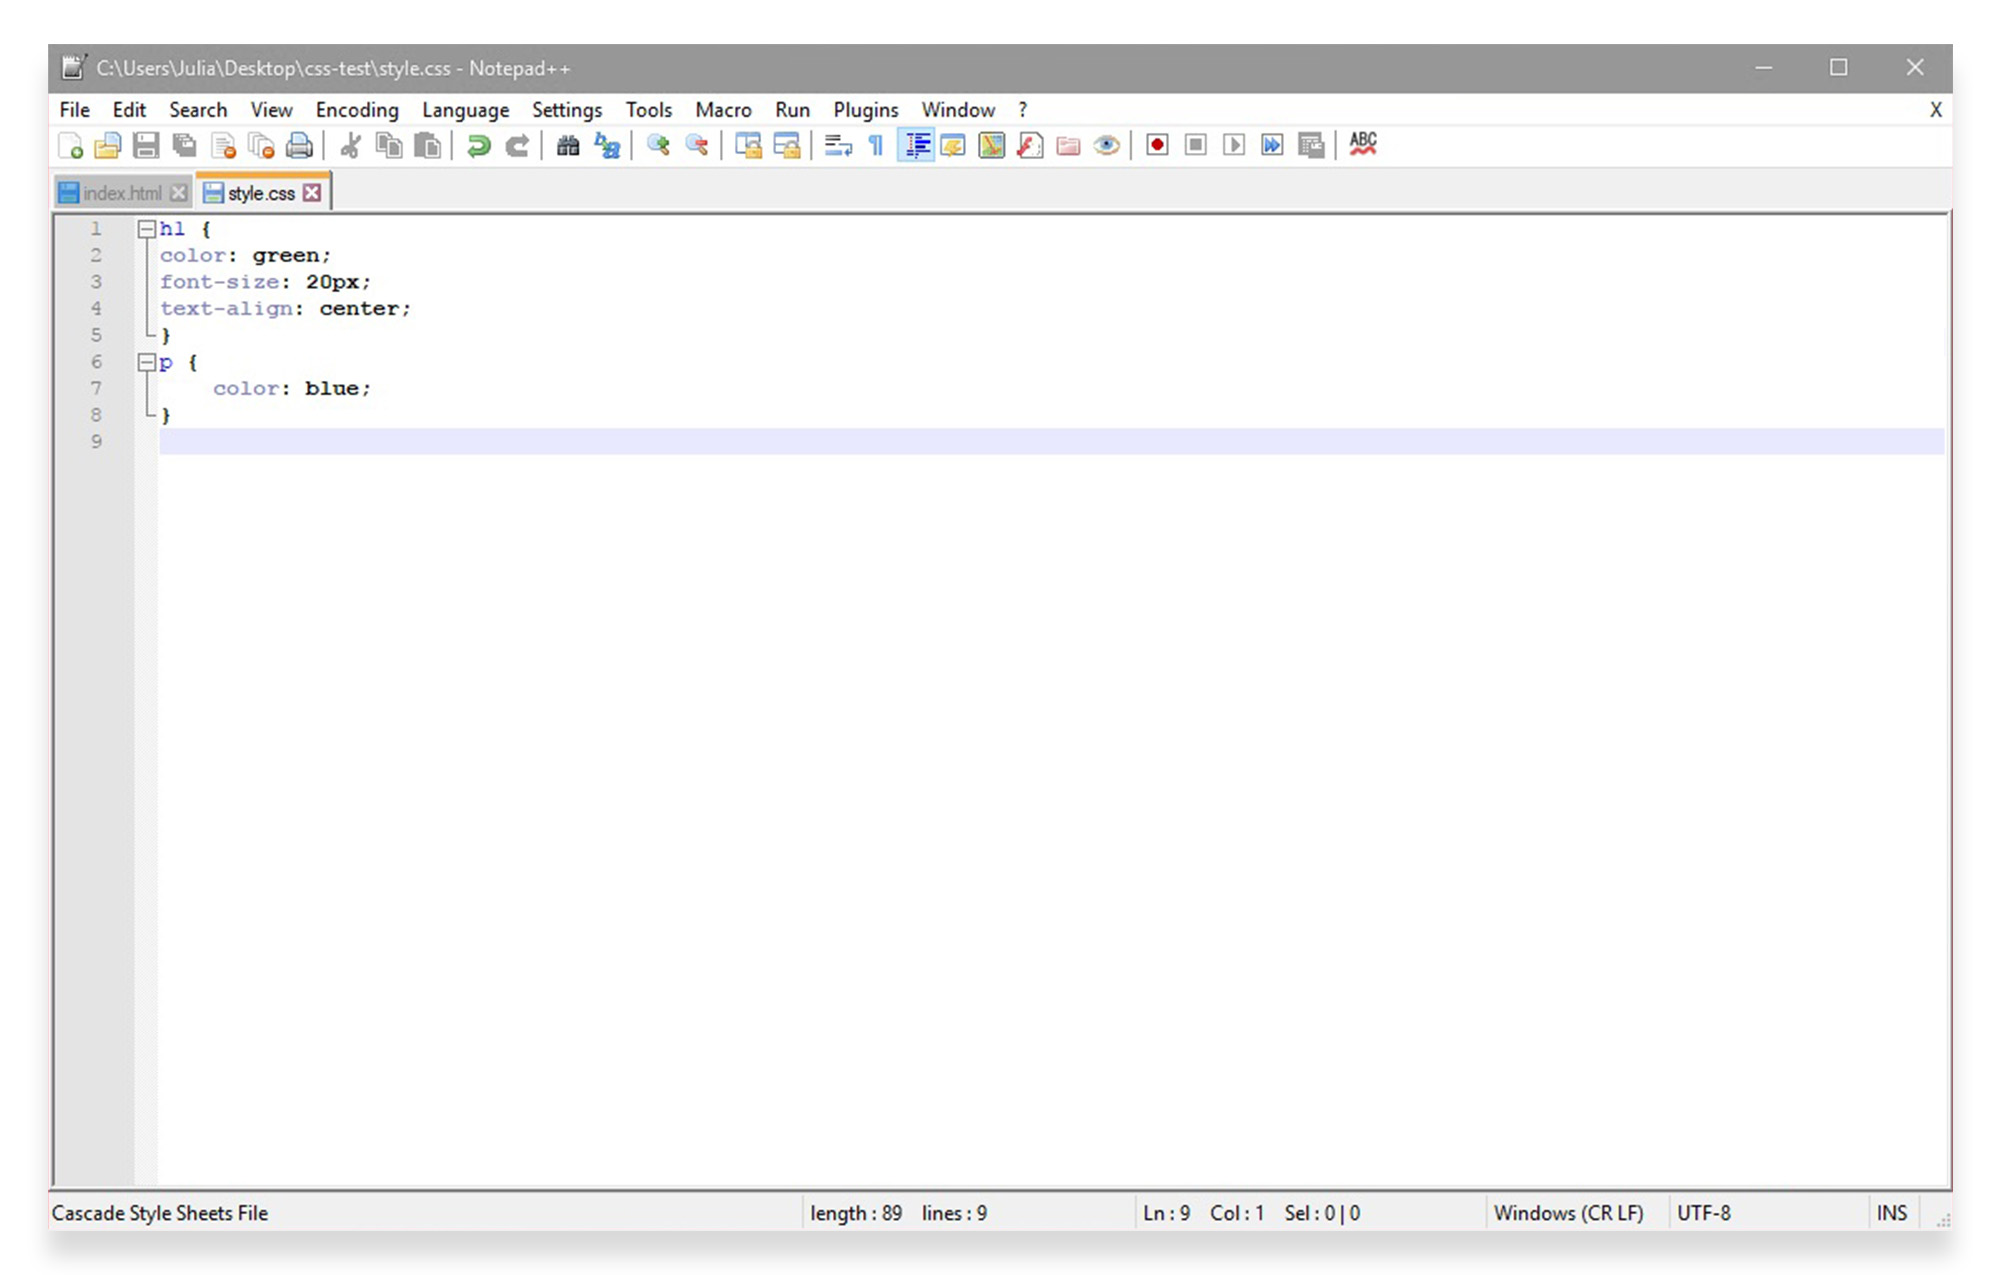
To set this up, open up a new document in your text editor, and add the following code:
h1 {
color: green;
font-size: 20px;
text-align: center;
}
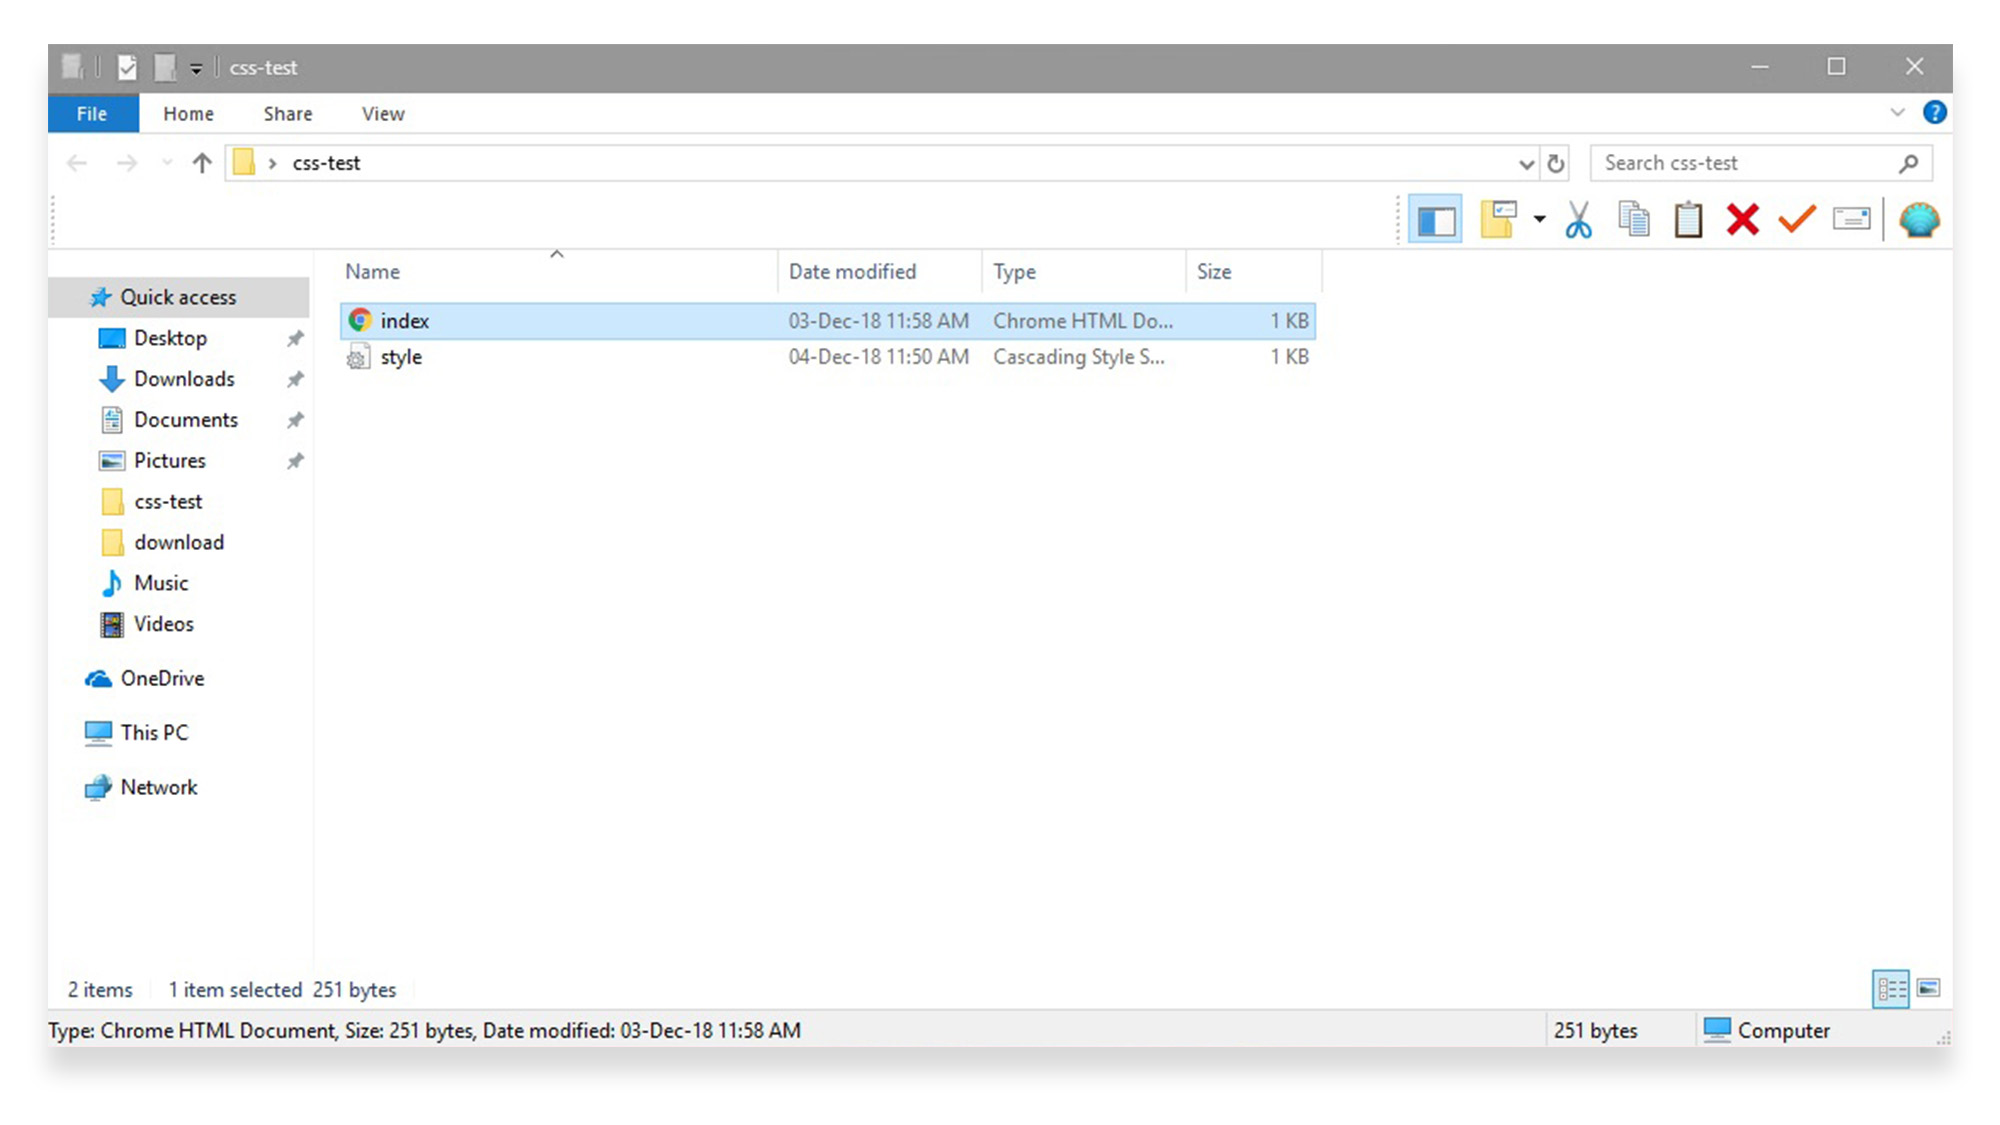
Now, save the document in your css-test folder, using the file name style and the extension .css – your style.css document should now appear in the folder with the index.html document.
The next step is to link the CSS file and the HTML file together – your CSS code can’t work its magic unless you tell the browser to load the stylesheet along with the HTML page.
To link the files, go back to your HTML document and add the following code, underneath the page title and above the </head> tag:
<link rel="stylesheet" href="style.css">
This code directly links to the saved file name.

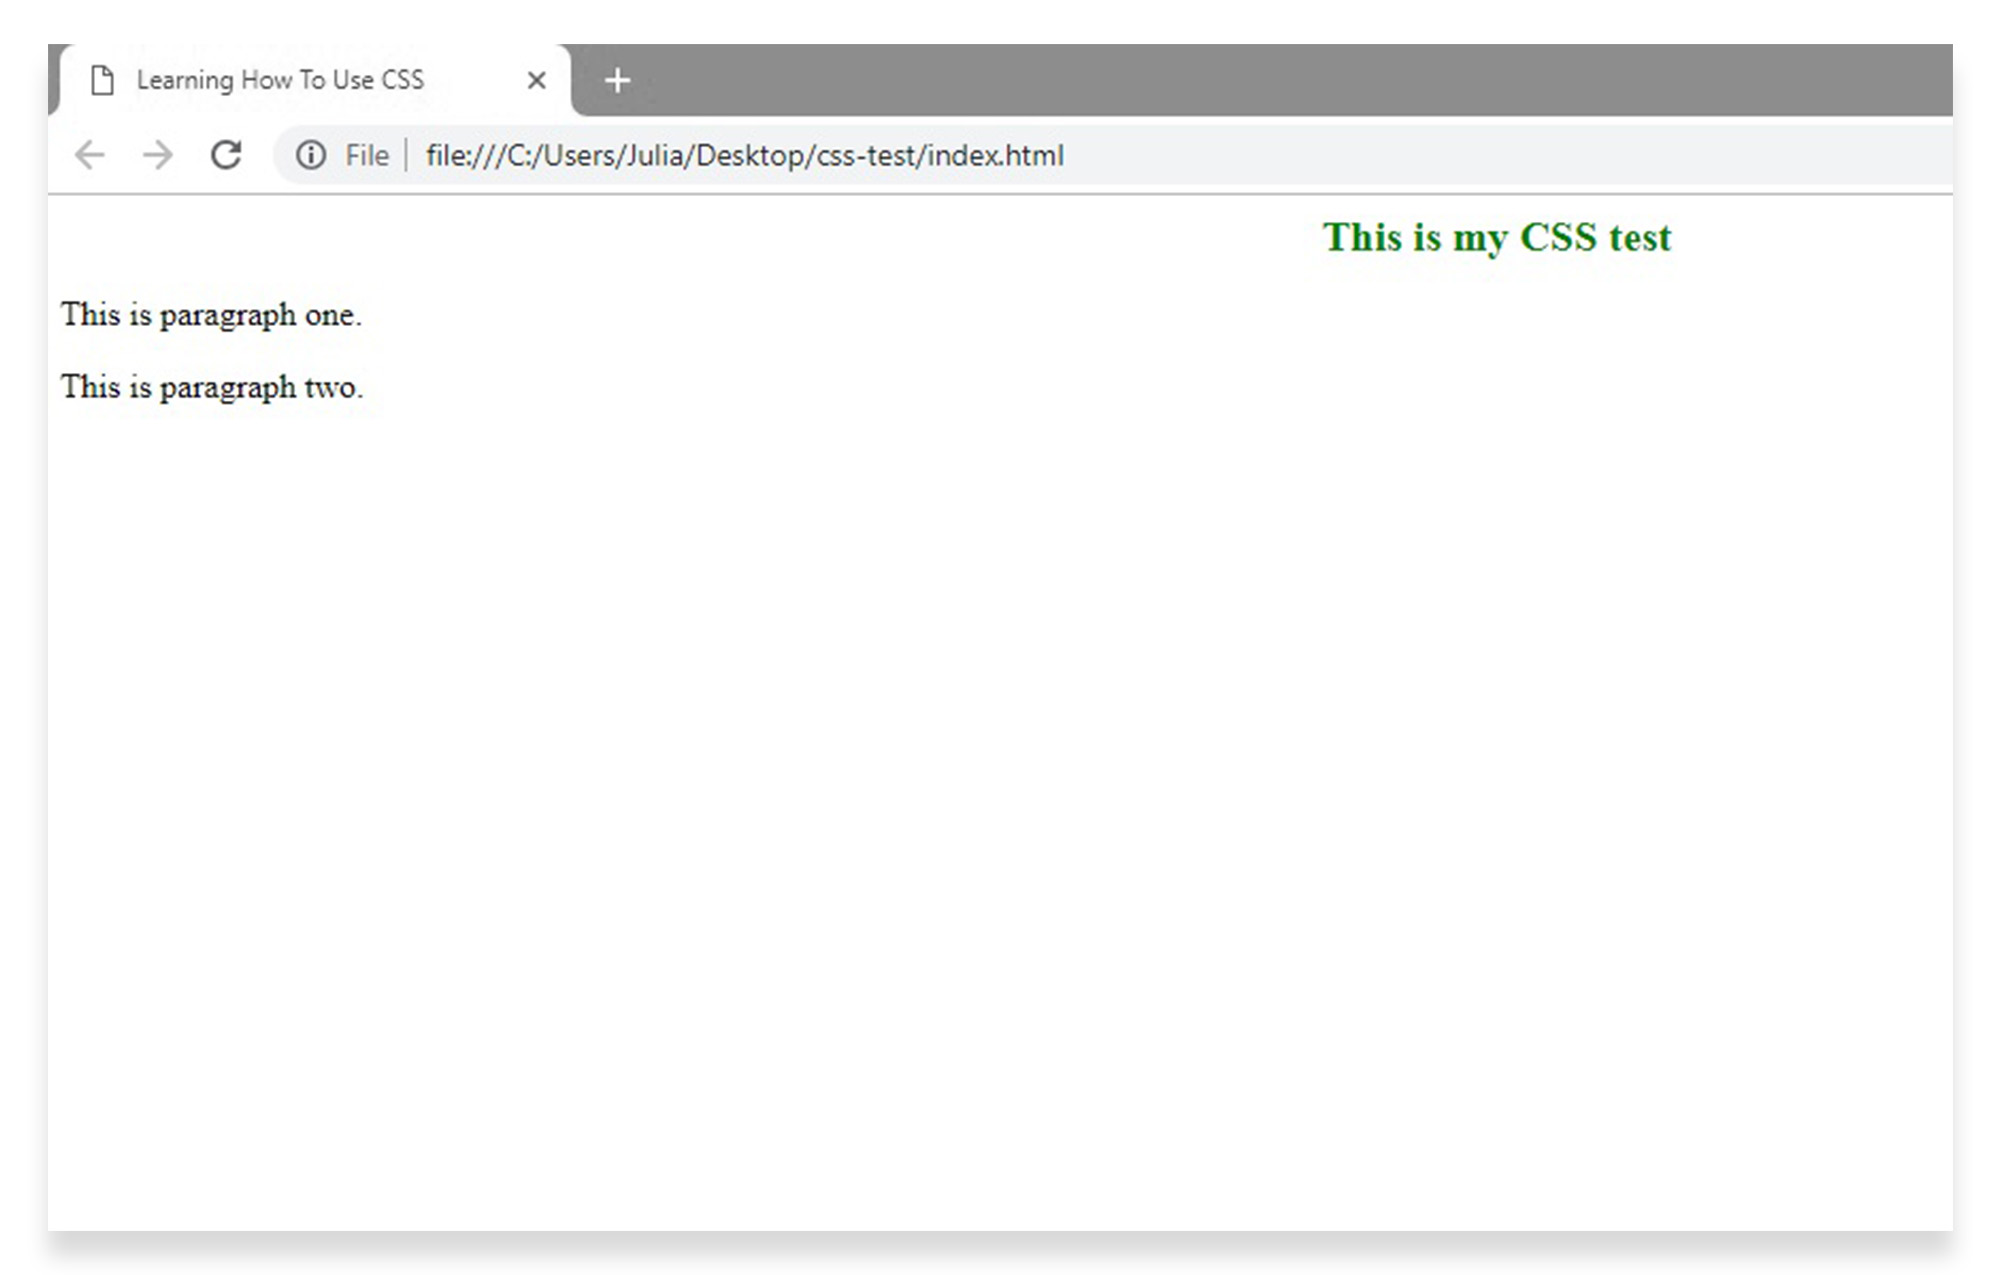
Save the document and refresh the web page in your browser. You should see that the three visual changes have been implemented, and your page heading now appears in green, in the specified font size, aligned in the middle.
Different types of selectors
We mentioned before that CSS selectors are used to select HTML elements. Selectors can do this in a variety of different ways, based on the element’s name, id, class, attribute, etc. Let’s look in-depth at a few different types of CSS selectors you might use:
Element selector: Selects elements based on the element name. So for example, if you want to change all paragraphs on a page to blue, you can use the following code in your CSS file:
p {
color: blue;
}
All <p> elements in your HTML file will be selected, and will appear in blue. This saves you the hassle of having to apply code to every paragraph separately.
id selector: Selects a specific element based on its unique id attribute.
The id of an element should be unique within a page, so the id selector is used to select one unique element.
To select an element with a specific id, you would write a hash (#) character, followed by the id of that element.
For example, if you had one paragraph on the site that you wanted to style, without changing the others, you would give it an id attribute like id=”para1″ and begin your CSS rule-set code with #para1.
For example:
#para1 {
text-align: center;
}
Class selector: Selects elements with a specific class attribute.
To select elements with a specific class, you would write a period (.) character, followed by the name of that class.
For example, if you wanted to style all left-aligned paragraphs, you would give them the class attribute class=”left” and begin your CSS rule-set with .left.
You can group selectors together in your CSS document to minimise code, and separate them with commas.
For example:
.center {
color: yellow;
}
Ready to learn more?
In our next CSS tutorial, we’ll look at how to set up internal, external and multiple style sheets. If you’re interested in delving deeper into the world of HTML and CSS, sign up for a Web Developer Bootcamp for a convenient online learning experience.